Most exterior-wall insulation failures don’t start on the scaffold—they start at the buying stage. When the XPS board spec doesn’t match the facade system, climate, or expected workmanship, the project quietly accumulates risk that later shows up as hollow spots, cracking, moisture complaints, and “cold areas” that are hard to explain after handover. The tricky part is that many of these issues look like installation mistakes on the surface, while the real cause is often a material/system mismatch or a purchase spec that’s too loose to control what actually gets delivered. This article breaks down the common failure patterns and turns them into practical checkpoints you can use to choose the right board, set clear requirements, and avoid disputes later.
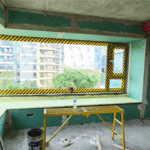
Start with the right XPS board and the right wall system
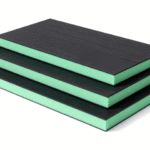
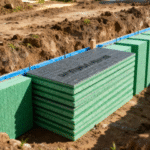
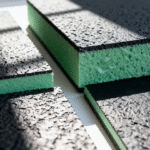
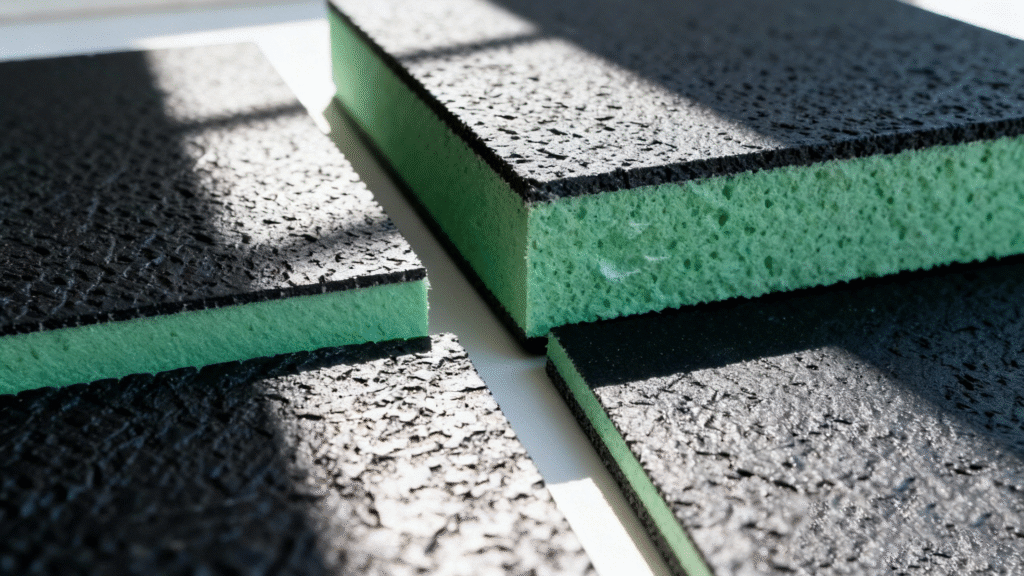
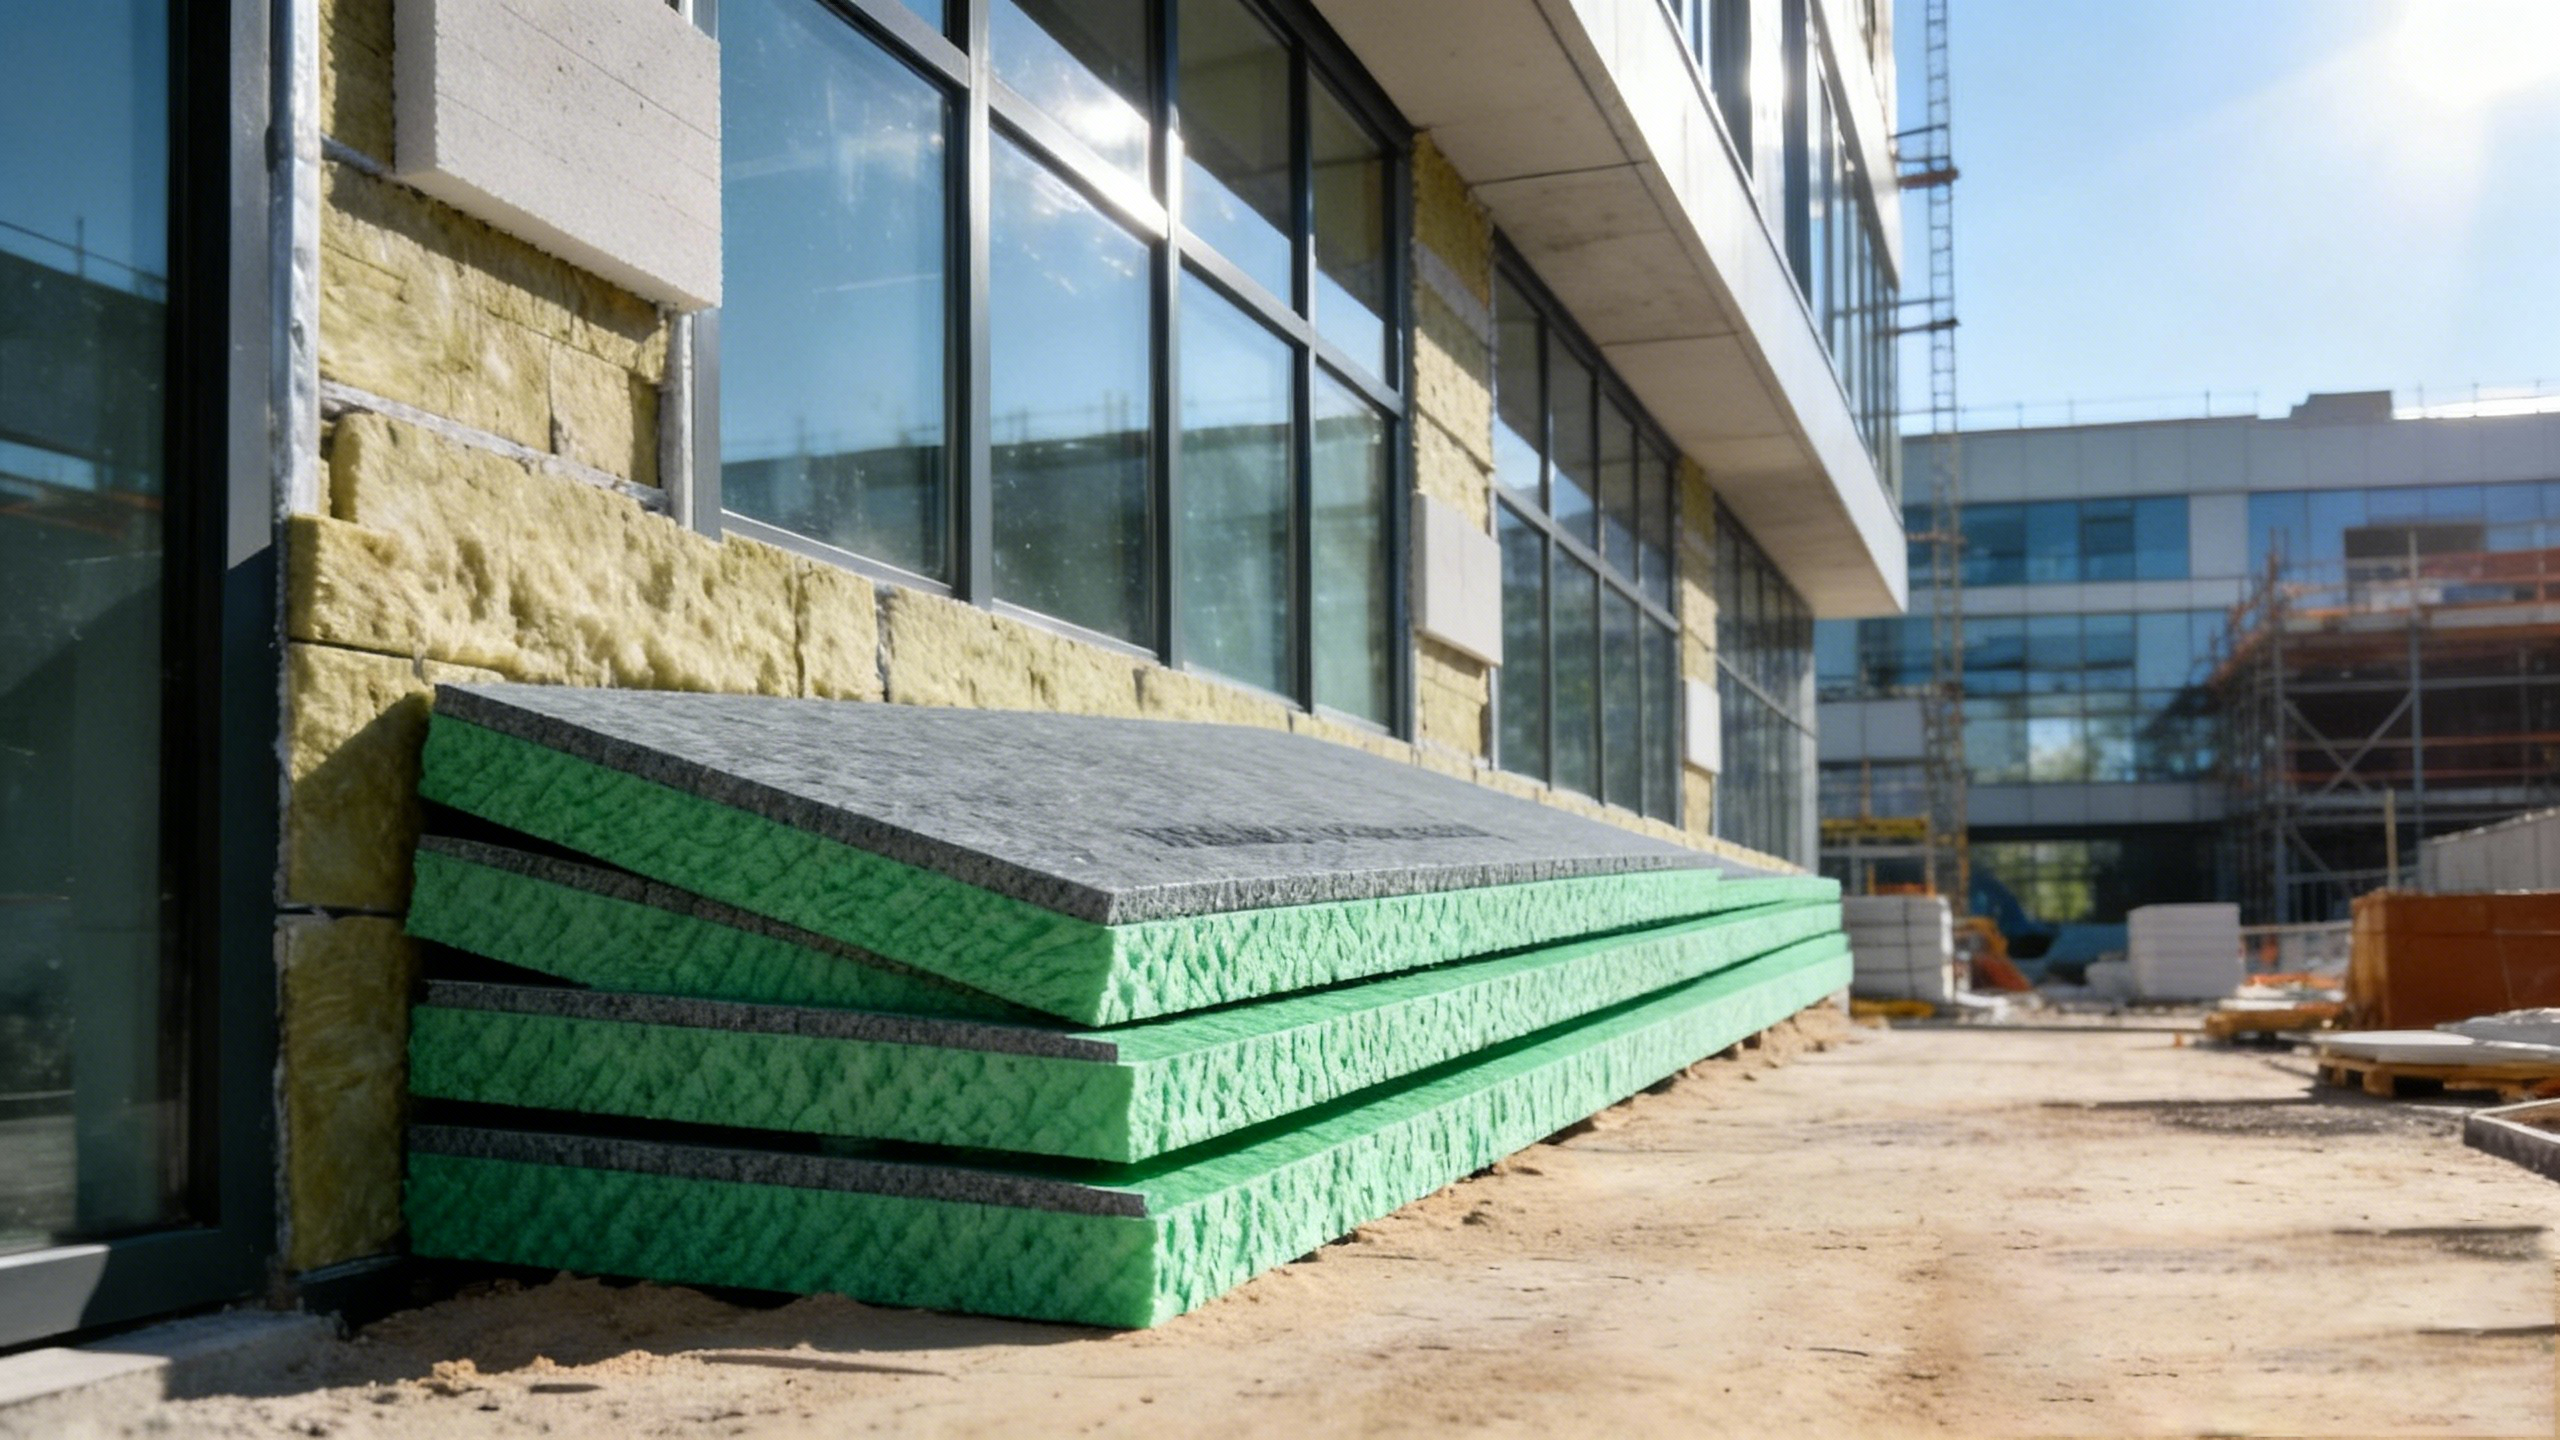
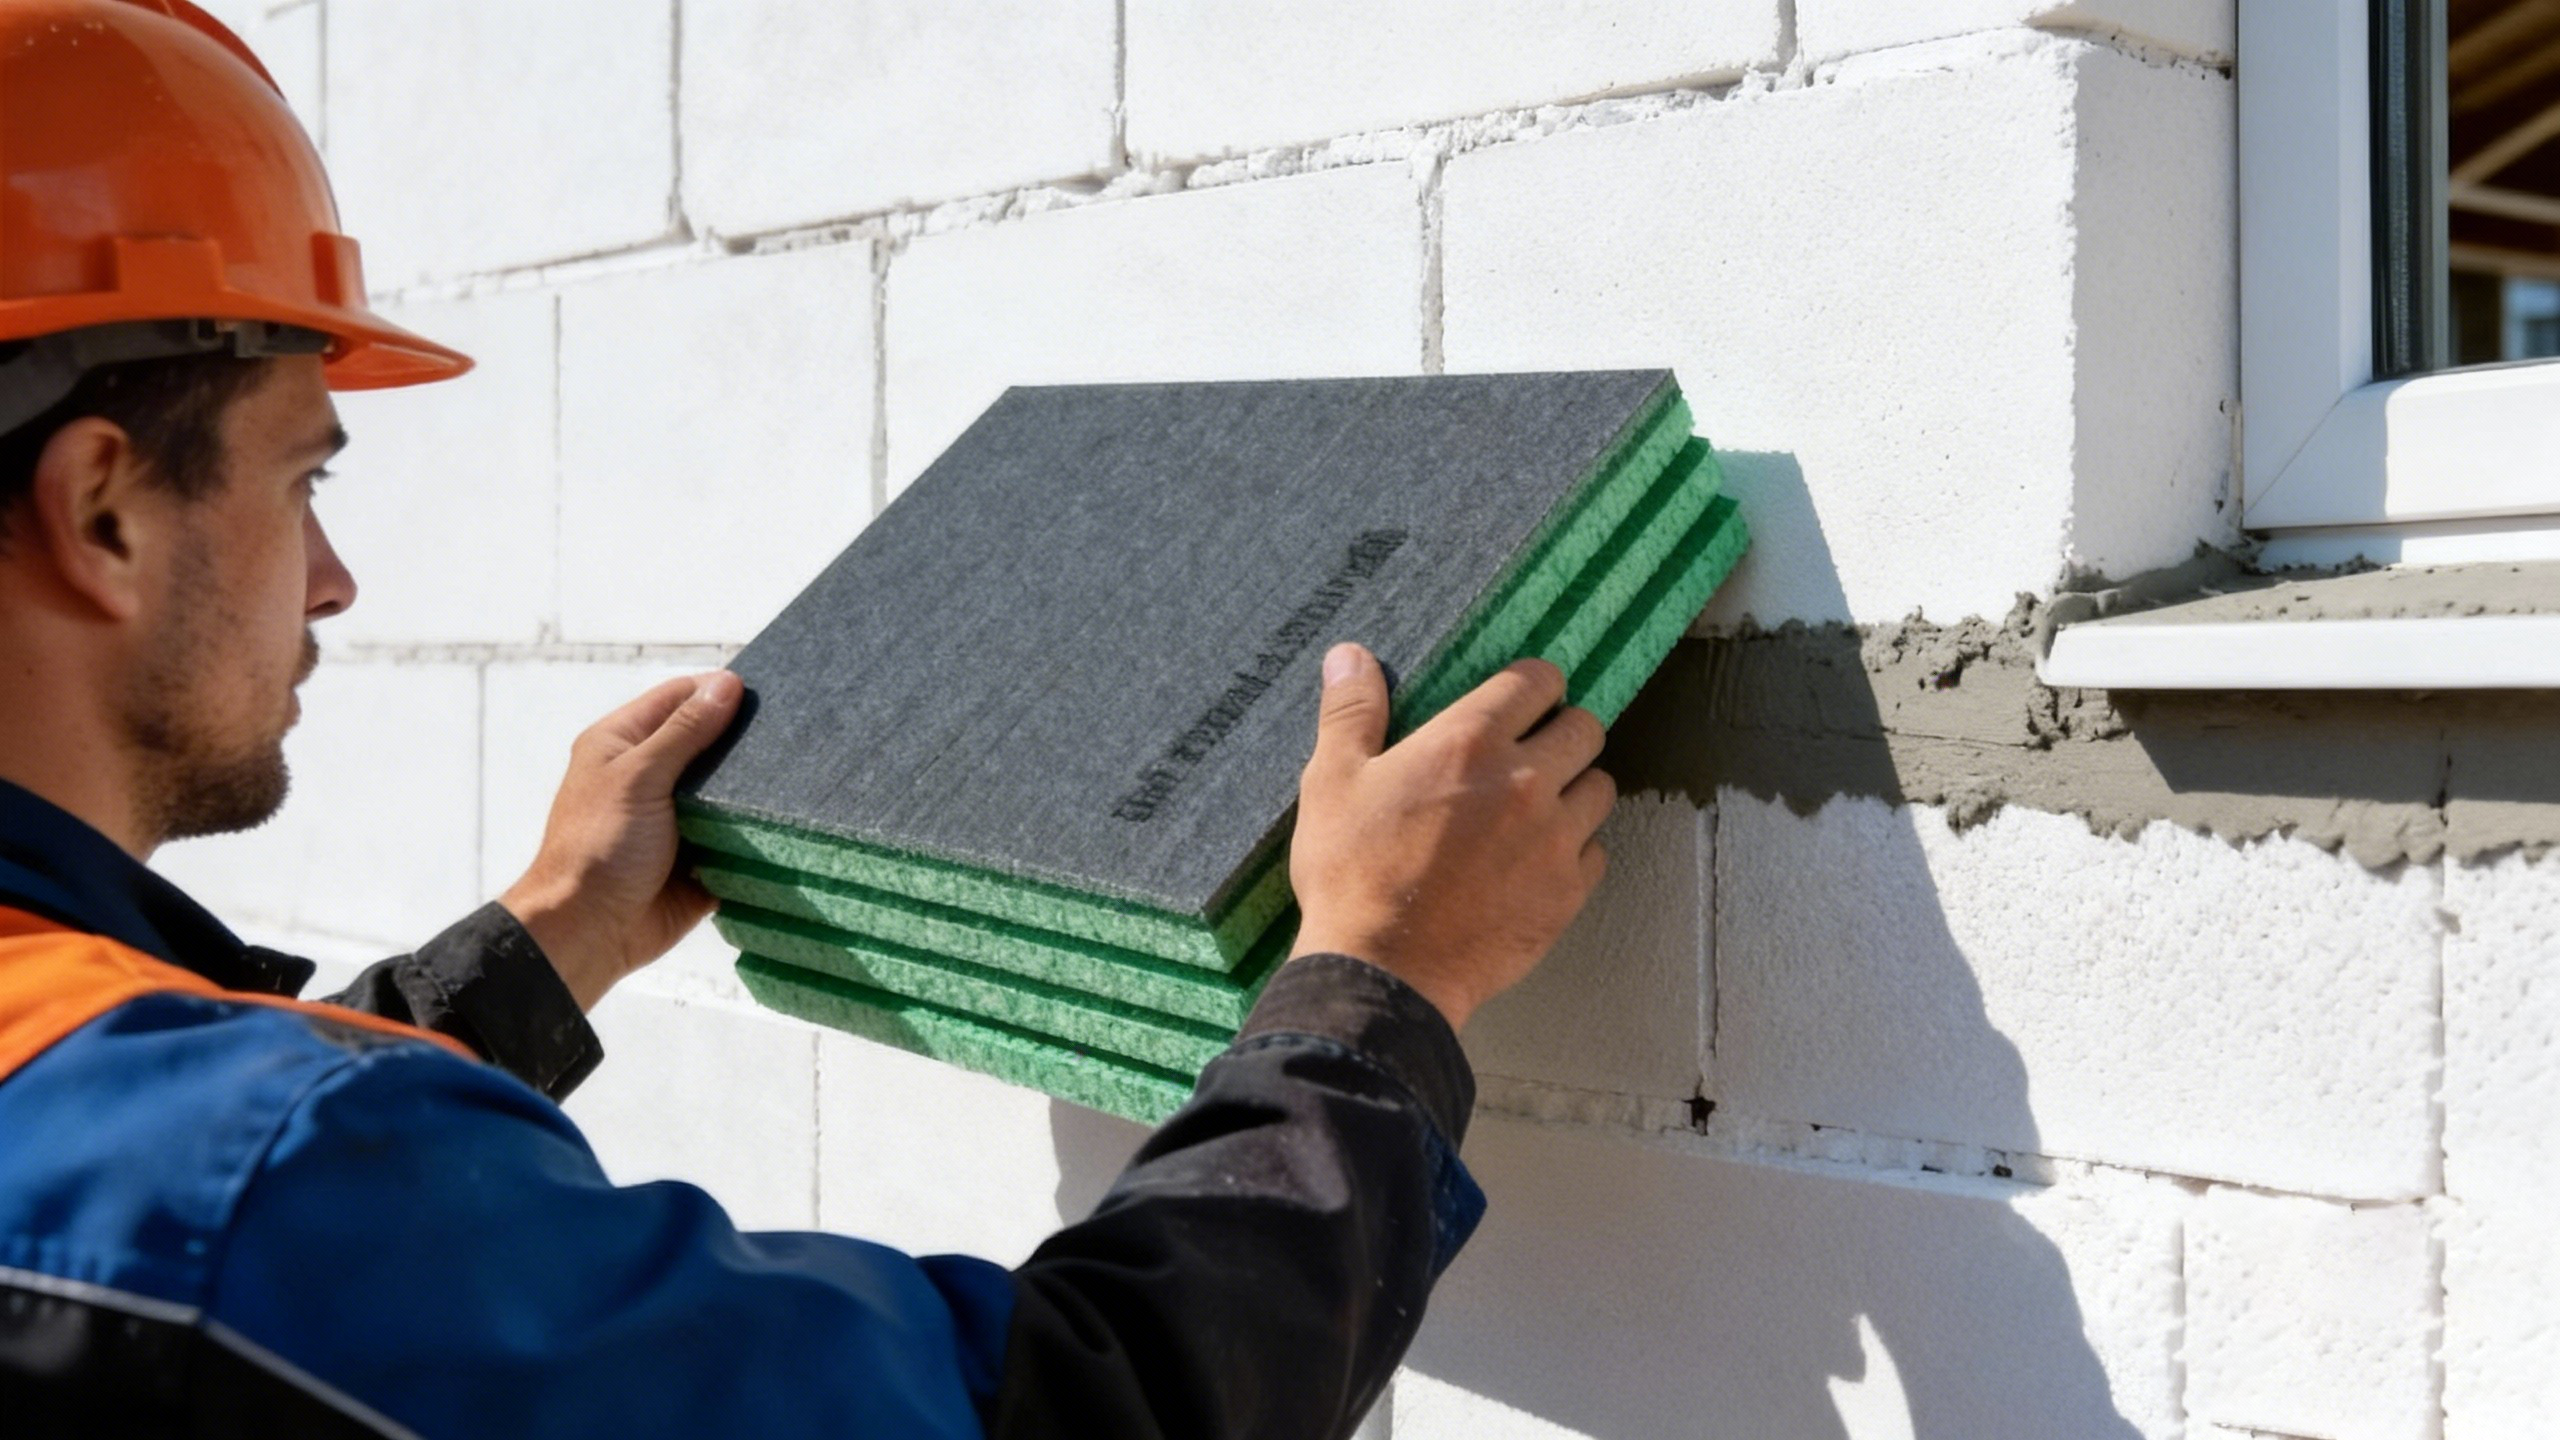
Exterior-wall problems usually start before installation: the board spec doesn’t match the façade system, climate, or workmanship level. For exterior walls, the XPS properties that actually change project outcomes are thermal conductivity, compressive strength, water absorption, dimensional stability, and surface type. A smooth “skin” board can be harder to bond unless the system is designed for it; a factory-textured or grooved surface often makes adhesion more forgiving on real sites. Edge profile matters too: square edges demand tighter cutting and joint control, while shiplap/rabbet edges help reduce gaps and airflow paths.
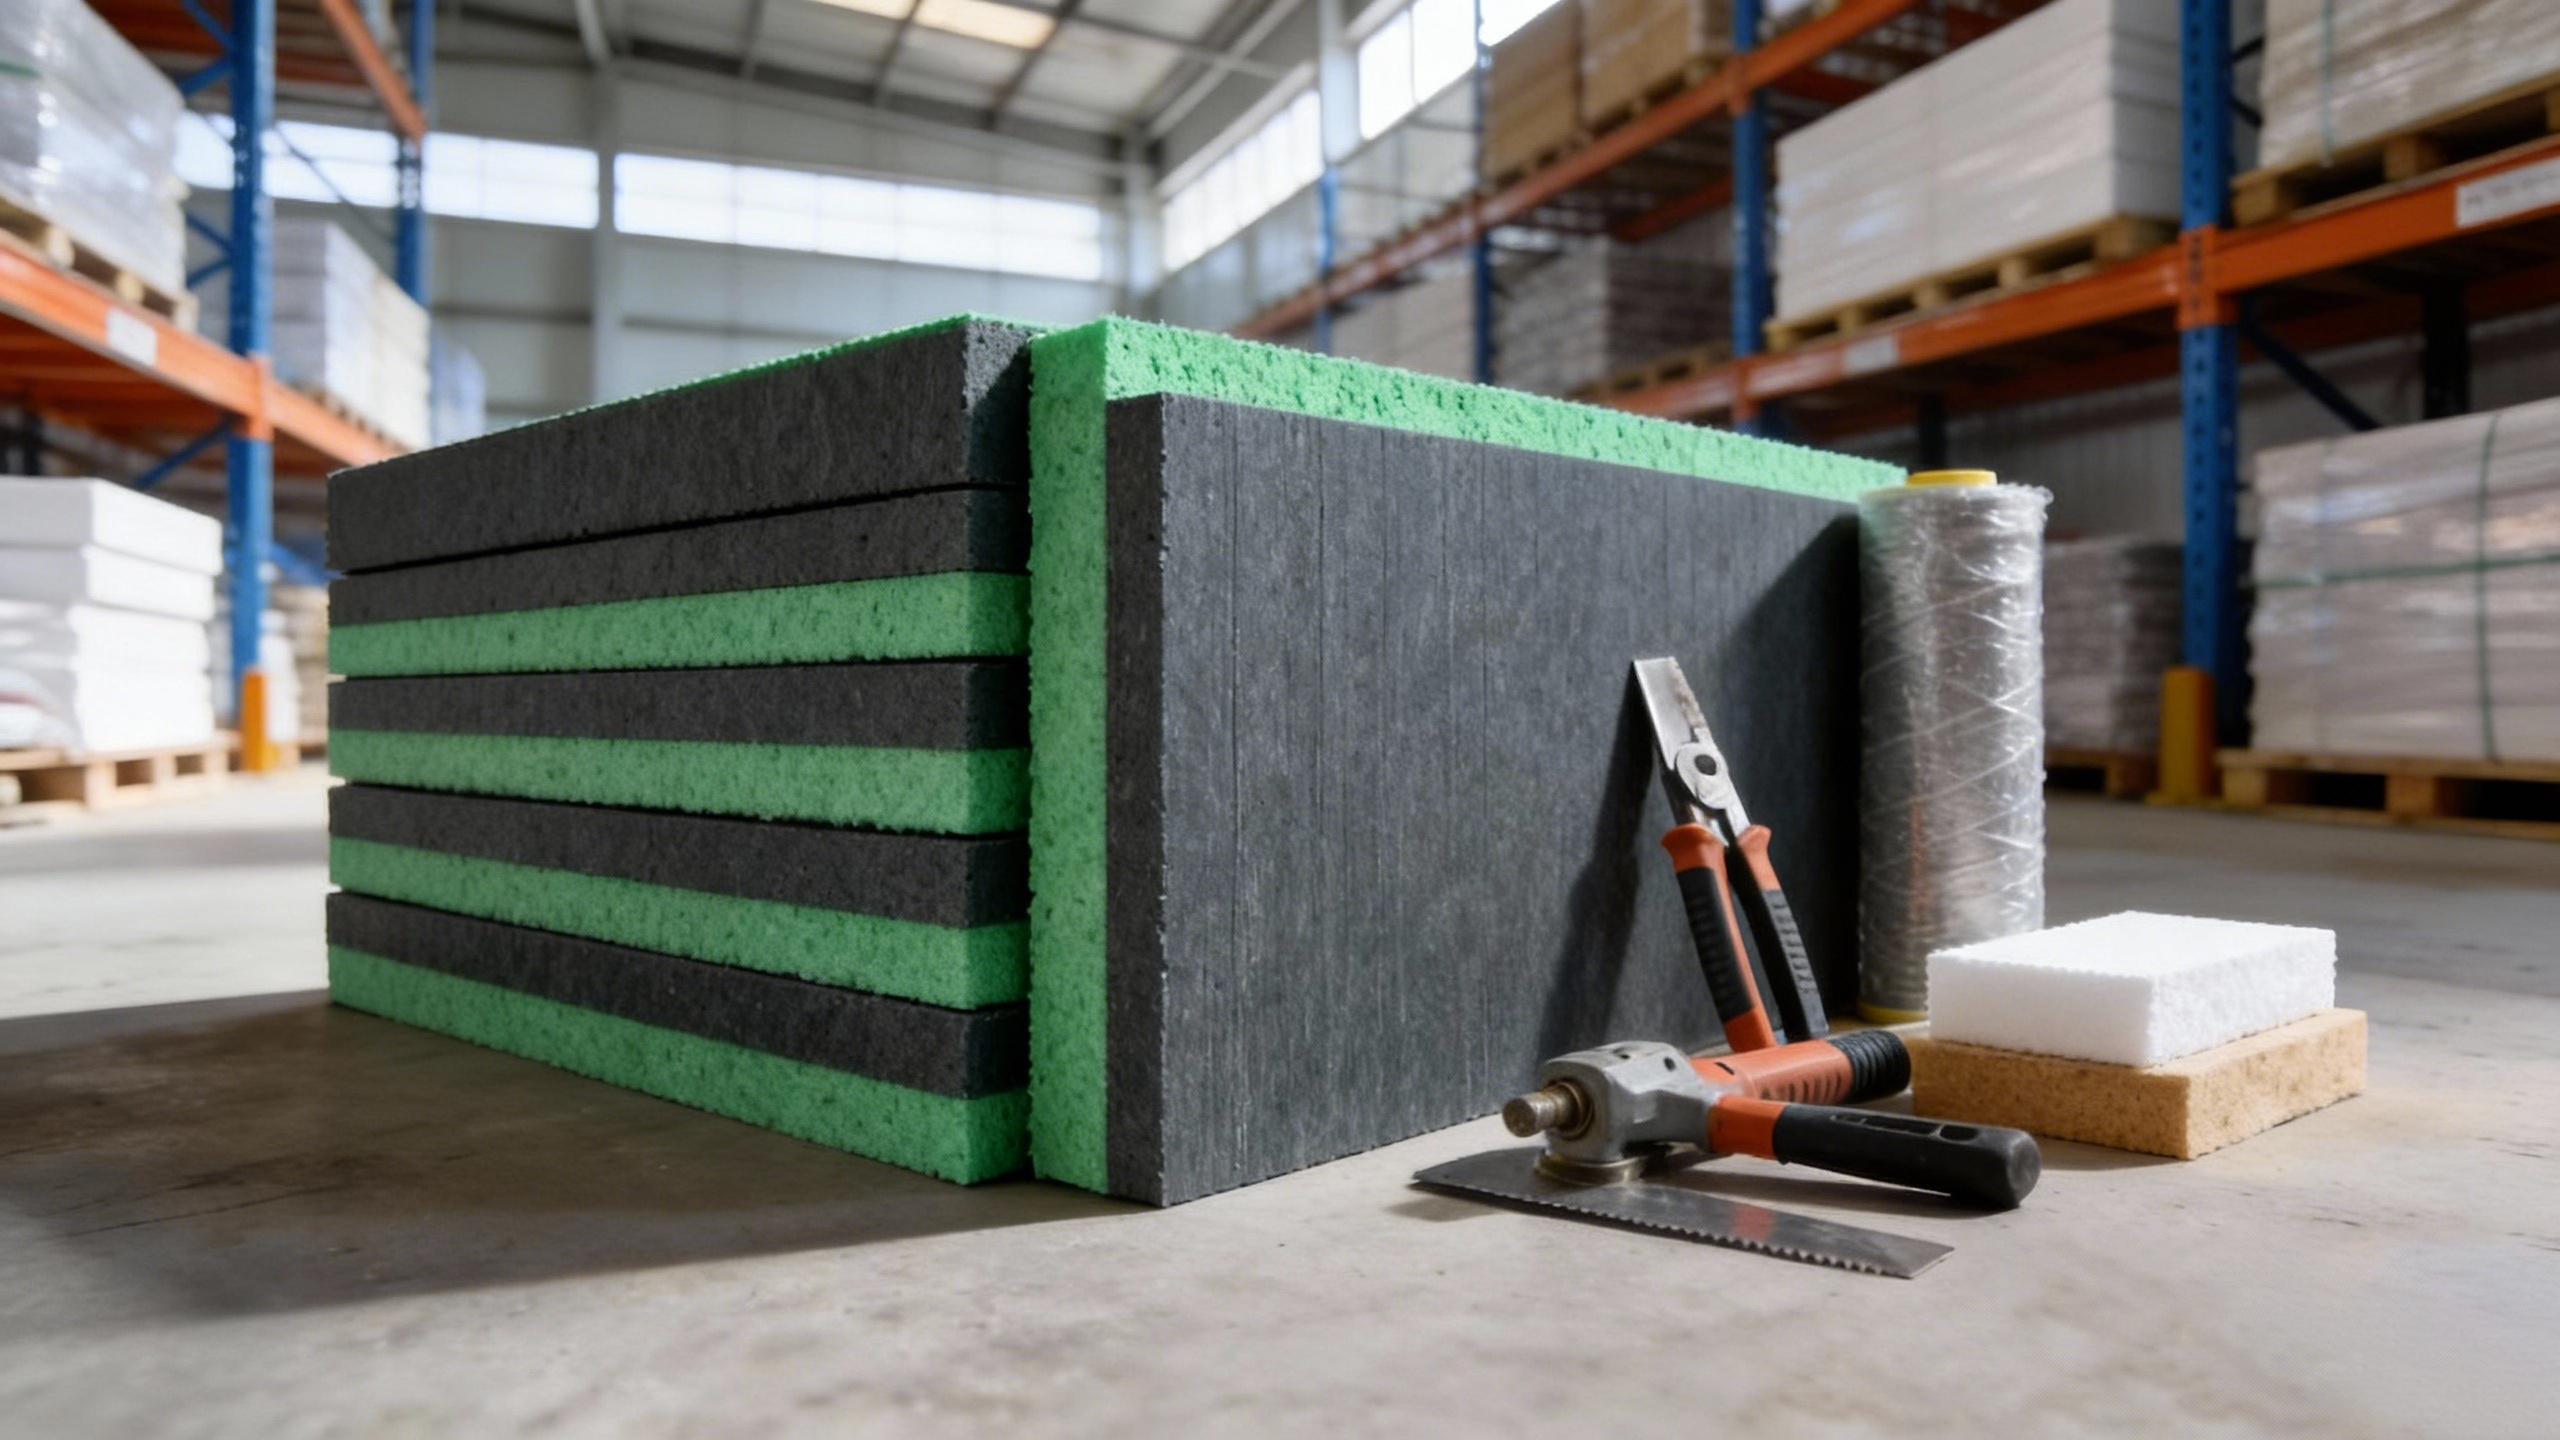
If you’re writing a purchase spec, don’t keep it vague. State thickness, declared lambda value and the test standard used, compressive strength class, water absorption requirement, dimensional stability requirement, tolerances for thickness/length/width, and surface/edge type. This is what protects you from “same name, different quality” boards in the market and reduces disputes between supplier, contractor, and consultant.
Hollow spots, weak bonding, and debonding
What crews call “hollow” is usually a bonding issue, not an XPS issue. You notice it when tapping the wall (drum sound), seeing local bulging, or finding edges that lift after a temperature swing or strong wind. The common causes are predictable: dusty/weak substrate, adhesive not compatible with XPS or mixed incorrectly, too little adhesive contact area, installing on a wet or contaminated wall, and skipping mechanical fixings where the wind load requires them.
The fix is a sequence, not a single trick. Make the substrate sound and clean, then confirm the XPS surface is bondable (some projects require roughening or using a textured board). Use the adhesive specified for that facade system and control open time—hot, windy days make “looks fine” mixes fail later. Finally, treat anchors as part of the design, not an afterthought; corners, parapets, and upper floors often need tighter patterns. The value for the client is simple: good bonding prevents the most expensive outcome in exterior insulation—large-area rework and liability disputes.
Water intrusion, condensation, mold, and insulation performance drop
XPS is chosen partly because it resists water better than many alternatives, but water problems still show up when the facade layer and details don’t manage rain properly. Typical signs are damp staining, efflorescence, interior corner condensation, mold, or a noticeable drop in comfort after one or two seasons. In most cases, the water path is not “through the board,” but through cracks, open joints, window perimeters, balcony slab edges, parapets, pipe penetrations, and failed sealant transitions.
Practical prevention is all about joints and openings. Keep board joints tight, stagger them, and avoid continuous vertical seams. Don’t leave gaps that get “buried” under basecoat—those become weak lines and moisture channels. Around windows, insist on correct returns, reinforcement, and water-shedding details (sills, drip edges, flashing logic). During construction, protect pallets and stop installing when walls/boards are soaked; sealing a wet assembly is a common reason for later blistering and mold complaints. The value here is long-term: dry assemblies keep their thermal performance and reduce warranty calls that are hard to prove after the fact.
Render/basecoat cracking and ugly facade finish
Cracking is what owners notice first, even when the insulation is doing its job. You’ll see hairline map cracking, long cracks following board lines, cracks at corner openings, and “wavy” walls visible in low-angle sunlight. The usual causes are uneven basecoat thickness, mesh placed incorrectly or with poor overlap, weak corner reinforcement, stepping between boards (lippage), rushed curing, and installing outside the recommended temperature/wind conditions.
To prevent this, start with a flat insulation plane: tight joints, correct staggering, and controlled sanding where needed. Then follow the reinforcement rules rigorously—mesh overlap, correct embedment depth, and additional reinforcement at window corners and stress points. Protect fresh coats from rapid drying and wind; fast skinning can lock in shrinkage stress. This is where choosing a consistent-quality board helps: stable thickness and good dimensional stability make it easier for crews to keep the wall plane flat, which directly improves appearance and reduces punch-list items at handover.
Thermal bridges and “cold spots”
Many energy complaints come from thermal bridges, not from the insulation’s lambda value. Cold spots show up at slab edges, columns, beam lines, corners, and around openings. The causes are usually discontinuous insulation, poor detailing at returns, gaps between boards, and “over-anchoring” without considering the heat flow impact (or using unsuitable fixings for the system design).
The solution is continuity and detail discipline. Treat slab edges and openings as primary details with clear drawings and supervision on the first elevation. Keep cuts clean and joints tight; a few millimeters repeated over many boards becomes a measurable weak spot. Use anchoring patterns that match the wind zone design and system guidance rather than guessing on site. The client value is measurable: fewer cold complaints, better real-world comfort, and a better chance of meeting performance expectations once the building is occupied.
Compliance, documentation, and why a real manufacturer reduces risk
Exterior insulation is judged by more than the board. Many markets expect recognized test methods for thermal performance, compressive strength, water absorption, and stability (commonly under ASTM or EN methods), and fire compliance often depends on the wall assembly, not only the insulation sheet. Projects get delayed when documentation is incomplete, outdated, or not traceable to the delivered batch.
As a real manufacturer, the professional standard is straightforward: stable production control, consistent density and thickness, controlled aging, protective packaging, batch traceability, and a documentation pack that matches the target market and project requirement. This is what helps importers avoid “same label, different batch” claims and helps contractors defend their work when inspections happen.
The best-fit customers are importers/distributors who need consistent batches and clean paperwork, facade/EIFS contractors who care about bondable surfaces and tolerances, and developers/main contractors managing warranty risk and schedule pressure. If the goal is the lowest price with no spec, no system compatibility check, and no document requirements, the result is usually disputes on site—those projects are rarely a good match.
From a procurement standpoint, buying XPS for exterior walls is not just buying boards—it’s buying predictable performance, installability, and a clean handover. What matters most is whether the supplier can deliver boards that match the facade system and the site reality, with measurable properties you can specify and verify: declared lambda value with a stated test standard, compressive strength class, water absorption performance, dimensional stability, thickness/length/width tolerances, and the correct surface and edge profile for the chosen adhesive and detailing strategy. When these items are left vague, the market can deliver “same name, different quality,” and the cost shows up later as debonding, moisture pathways at joints and openings, cracking that follows board lines, and thermal bridges at slabs and corners—followed by rework, schedule delays, and liability disputes. A low-risk supplier is one that supports stable production, consistent density and thickness, controlled aging and packaging, batch traceability, and documentation aligned with the target market and project requirements, so inspections and warranties don’t turn into arguments.